Thursday, April 28, 2011

I ♥ Goodwill 4.28.11

goodwill4.28
I’ve hit a Goodwill dry spell. This is pretty normal. I will find lots of goodies one week and then not find anything for the next. With all of the Pottery Barn finds I had a couple of weeks ago it was bound to happen. 

Sooo, I’ve decided to share with you some of the other things around my house that I have found at Goodwill in the past. I was surprised myself at my Goodwill inventory. It makes me smile though because I think of all of the moola I’ve saved!

I found this mini Radio Flyer wagon a while back for my little guy’s room. Think it was like 3 or 4 bucks. (Monkey sold separately.)
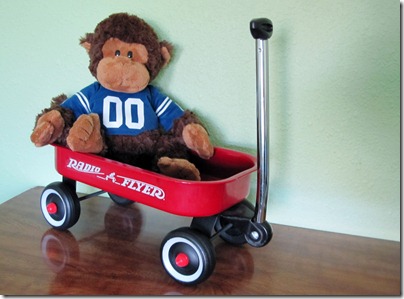
radioflyer

This little traffic light lights up and changes colors. It was $3.99.
stoplight

I saw this little car pillow at Target a few years ago…think it was around $10, so this was a steal at Goodwill for only 99¢.
easter 025

This copper tin is going to get a fresh coat of white paint. I’m thinking about putting it in our Master Bathroom with some hydrangeas in it. It was also 99¢.
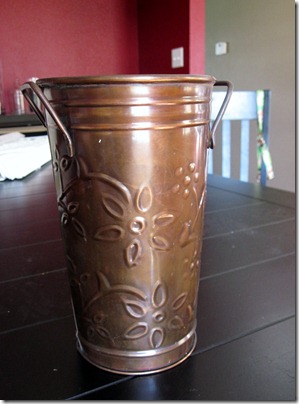
 coppertin

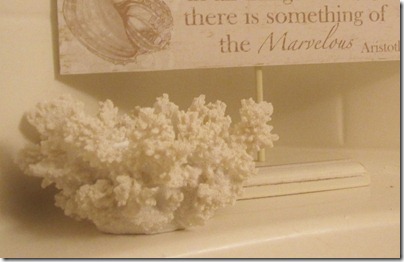
This piece of coral I got for $2.99 is actually a tea light candle holder from Party Lite.
bathroom 029

I love the color of this basket I found for $1.99. I’m using in our bathroom as a magazine holder.
basket

This basket was $3.99. Right now it sits in our pantry and holds all of our excess shopping bags.  (I’m always forgetting my reusable bags.)
easter 046

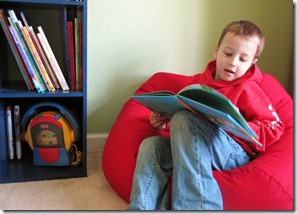
We found these Target beanbags at two different Goodwill stores but they were both new and each were $7.99. (I think they are about $20 at Target.)
002beanbag

Hopefully my luck turns around soon…but that’s part of the fun. You never know what you’re going to find and when it’s going to be a good day.
Happy Goodwill hunting! :)

Linking up with:
Catch a Glimpse Button  http://linda-coastalcharm.blogspot.com/ Chic on a Shoestring Decorating Designer Garden Transformation Thursday

Saturday, April 23, 2011

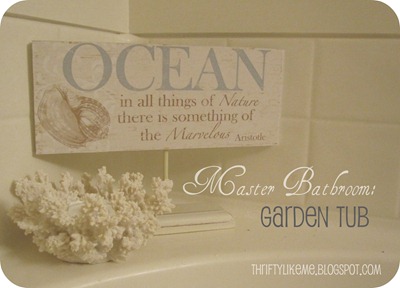
Master Bathroom: Garden Tub

              gardentub

Have you ever started a projected that should have taken a long weekend but it ended up taking you oh I don’t know…2 months?!?

Sheesh.

Well that’s exactly what happened with our master bathroom renovation. It’s still not complete but the major stuff is done.

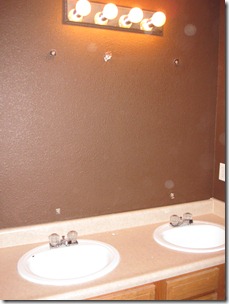
We started out with a basic builders grade bathroom with ugly brown walls. (There was a giant mirror there above the sinks, but I only remember to grab my camera after I’ve already started to tear things apart.)
mantel 004mantel 010

Yawn.

Not quite how I picture a “Spa” bathroom.

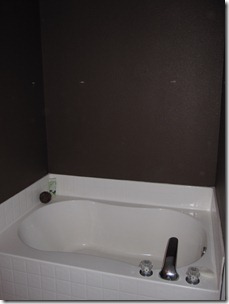
One of my biggest issues with this room was that the garden tub looks like it was just plopped in there. I wanted it to have a “built in” look.
gardentubbefore

Since completely tearing out the bathtub and putting in tile was not in the budget (this is a thrifty home after all) I decided to work with it.

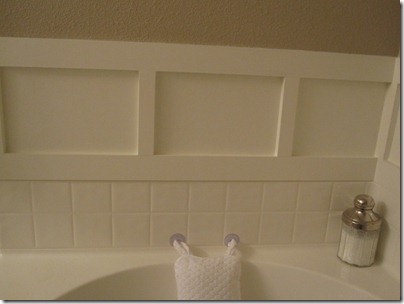
We decided on putting up a board and batten around the tub surround area. We used 2 1/2 inch MDF for the horizontal pieces and 1 1/2 inch MDF for the vertical pieces. We smoothed out the lovely orange peel texture and then primed and painted the wall before we put the the MDF up using liquid nails. You can find some great tutorials on how to put up board and batten on the cheap here and here.
002

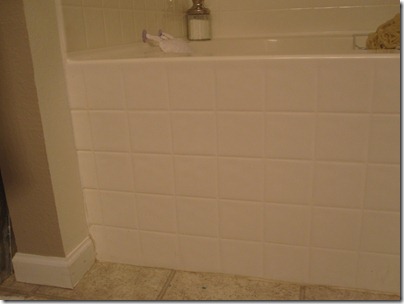
The next step was to build a panel for the front of the tub to cover the faux tiles and give it more of a built in look.
005

This was a little bit tricky. At first we were just going to use a large piece of plywood, glue the MDF to the plywood and then use silicone to attach it to the front of the tub. We quickly realized that this would show a seam at the top of the tub that would show where the two materials were put together.

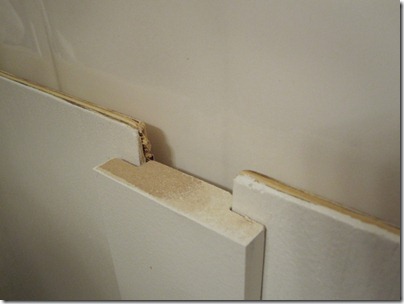
Enter my handy dandy hubby! He used his router on each of the pieces so that they looked like this:
bathroom 001

And then routered the center piece to look like this:
bathroom 002

We used silicone to attach the MDF “frame” directly to the front of the tub and then let it sit for 24 hours so that it wouldn’t slide around when we put the plywood panels in.
bathroom 008

After we impatiently waited for the silicone to set we slid in the two pieces of plywood that we cut to fit into the frame. (Center piece shown)
bathroom 003

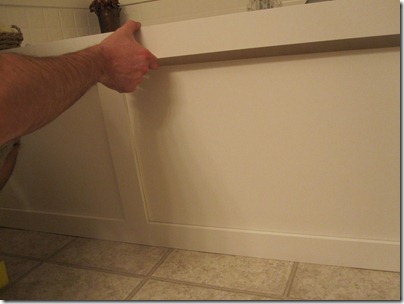
And finally we put the top piece on. bathroom 005


Puzzle complete!
bathroom 014

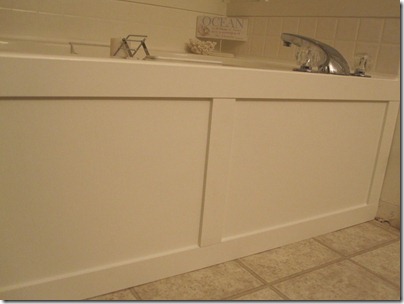
And here is the finished look:
bathroom 015

You can see how I made the shutters above the bathtub here.
bathroom 021

This entire project including all of the accessories cost me less than $100. Not bad eh?

My dreams of having a Spa bathroom are slowly becoming a reality....b4andafter

I would like to change the faucet on the bathtub but I'm not sure if it can be removed without tearing things apart. Has anybody ever done this before?

{{{Check out my Rate My Space for a sneak peek of the rest of our bathroom makeover.}}}

Linking up with:

Blackberry Vine

Making the World Cuter

 http://linda-coastalcharm.blogspot.com/ My Uncommon Slice of Suburbia The DIY Show Off Catch a Glimpse Button
Photobucket UndertheTableandDreaming Sumo's Sweet Stuff Keeping It Simple My Uncommon Slice of Suburbia Anything Related Chic on a Shoestring Decorating Transformation Thursday Designer Garden
Thrifty Decor Chick